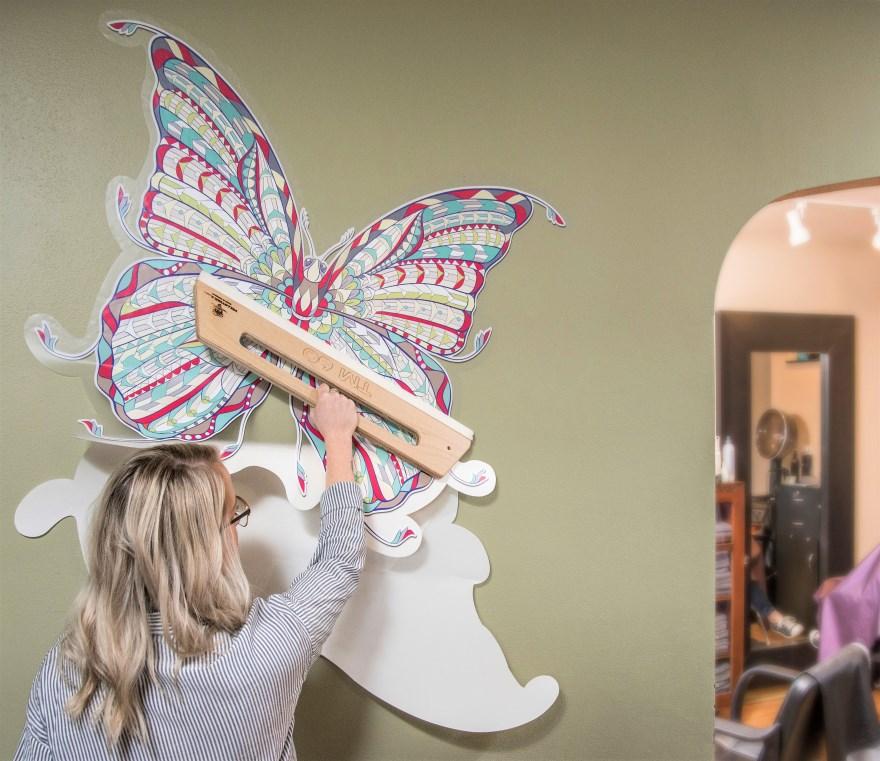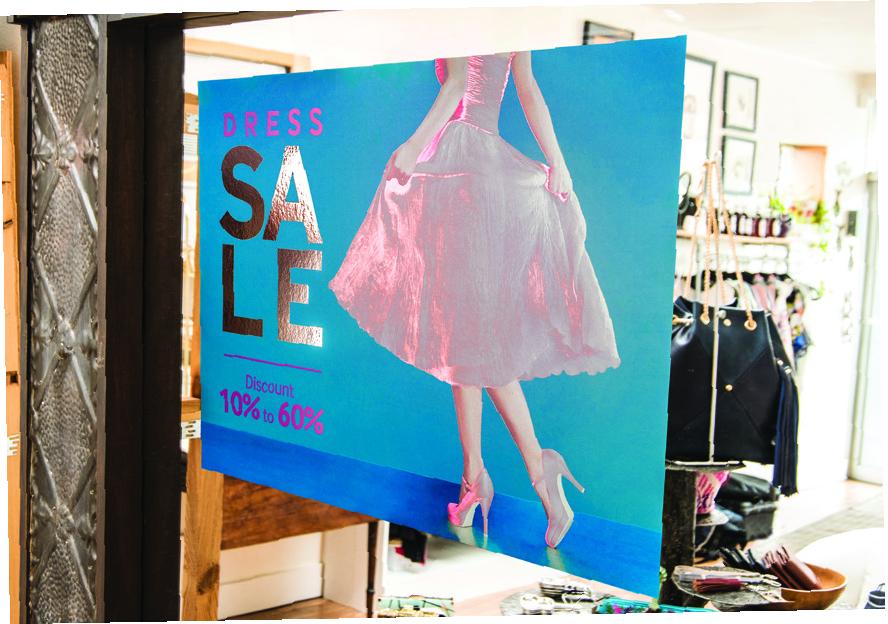
Wall Graphics® are removable vinyls used for wall decals, wall décor, posters and barricades. CSome care and patience must be exercised during installation to insure satisfactory results and performance. Surface condition is one of the most critical factors in achieving a successful application.
- Do not install on walls that have been painted within 30 days. Paints must be fully cured before installation. Applying the graphic prematurely to uncured surfaces may result in bubbling due to outgassing and/or adhesion failure.
- Walls must be properly cleaned before application (see below).
- Not all paints are created equally. Low-or-no VOC paints as well as matte/flat colors typically have lower adhesion values.
- Testing is recommended to ensure the desired results are achieved.
- For these applications, consider using Wall Graphics® with high-peel removable adhesive.
- For textured walls, consider using Wall Graphics® with high-peel removable adhesive. Again, testing is strongly recommended.
- Do not install on unsealed drywall, plaster, wood or composite materials.
- Wall should be free of defects.

INSTALLATION
- Lay the sheet out for one day to allow it to flatten out.
- Using a lint-free or micro-fibre cloth, wipe the application surface using a cleaner suitable for the specific wall type to remove any dirt, grease and grime. A non-abrasive cleaner is generally recommended. Do not use any cleaner that will leave residual chemicals (specifically, waxes, oils, or surfactants) as they may impact the adhesion of graphics to the wall.
- If the surface can tolerate Isopropyl alcohol (IPA), a good second step is to wipe the surface down with rubbing alcohol (50/50 IPA/Water) using the lint-free cloth. This should remove any residuals that were left behind during step #1.
- Allow the surface to thoroughly dry.

- When ready to apply the graphics, peel back the release liner at the top edge of the graphics, enough to attach to the surface.
- Continue to work downward, peeling back the liner as you go, using the squeegee to smooth out graphics from center to edges to eliminate bubbles. Take care to not distort or stretch the vinyl.
- If repositioning is necessary, gently remove and reapply.
- Once complete, wipe the entire graphic with a soft, dry cloth to remove any dust or residue from the application process.
REMOVAL
Although removing Wall Graphics® is much more straightforward than installing, proper technique will help ensure a clean removal.
- Start at any edge of the graphics and gently lift off enough to grab.
- Slowly peel back on itself at 180 degrees. This will minimize the chances of paint being pulled off with the graphic.
- Continue at an even pace until completely removed. For large graphics, pulling in the narrowest direction helps minimize the force needed to remove .


DISCLAIMER
There are many different types of wall surfaces, paints, textures and other variables affecting the application success of this product, the end user must determine the suitability of this product for the specific application. Far From Normal & Nekoosa will not be held liable for any cost resulting from a failed application of this Wall Graphic® product. Printer/end user assumes all risks and costs associated with the application of this product. In the event of a failure that is due in part or in whole to a manufacturing defect, Nekoosa will replace the material only.


