Looking to add customizable aging and a vintage look to your prints right from the queue? The Distressed effect plug-in allows you to apply a filter over your image or design, which adds a weathered and worn look. You can create these masks and save them as presets for future use.
For an example, we’ll take an ale label and give it a vintage look, then print it on a shirt. To start:
- Import the job into the color queue for your DTG printer
- Right click on the Job and go to “Effects”
- Choose “Distressed”.
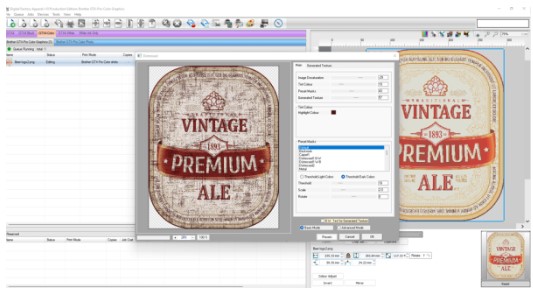
The “Distressed” plug-in dialog comes up and a default preview is generated. Below the preview you can zoom in and out. The main dialog is set to Basic Mode, where there are 4 sliders.
- Image desaturation.
- Strength of tint color.
- Strength of preset masks.
- Strength of generated texture.
Below, you can define your tint colors, choose a preset mask, apply sliders for threshold, and scale and rotate the generated mask. At the bottom there is a button to save, load, reset, or choose a preset. Selecting “OK” will apply the effect.
